wpc wall panel installation full guide: detailed steps and tips
wpc wall panel, as an emerging environmentally friendly decorative material, has been loved by consumers for its beautiful, durable and environmentally friendly features. This article will give you a detailed introduction to the installation method of wpc wall panel, allowing you to easily create a stylish and comfortable home environment.
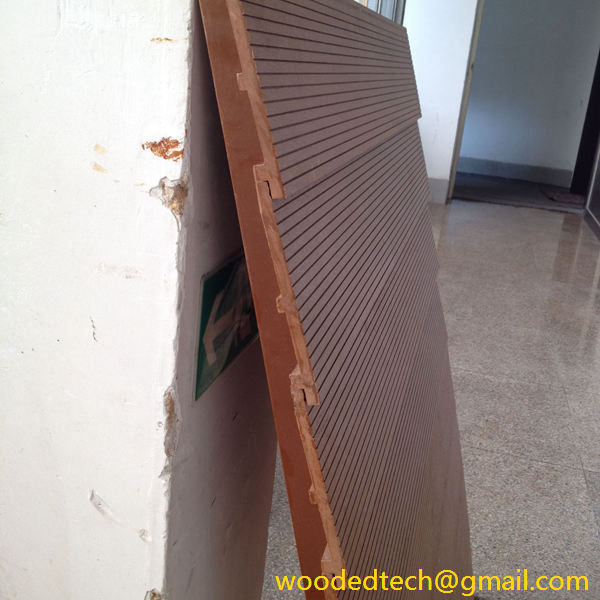
1. Introduction to wpc wall panel

wpc wall panel is a new type of composite material made by mixing plastic and wood powder in a certain proportion, and undergoing high temperature, high pressure, extrusion molding and other processes. It has the following advantages:
1. Environmental protection: using waste plastic and wood powder as raw materials, reducing the consumption of wood resources and reducing environmental pollution.
2. Durable: has good corrosion resistance, wear resistance, anti-aging performance, and long service life.
3. Beautiful: natural color and rich texture, which can meet different aesthetic needs.
4. Easy to install: easy to install, no professional tools required.
2. Wpc wall panel installation steps
1. Prepare tools and materials
Before installing the Wpc wall panel, you need to prepare the following tools and materials:
(1) Tools: steel ruler, pencil, electric drill, screwdriver, impact drill, cutting machine, etc.

(2) Materials: Wpc wall panel, expansion screws, sealant, corner code, pendant, etc.
2. Wall treatment
Before installing the Wpc wall panel, you must first treat the wall. Clean the wall to ensure that there is no dust, oil, etc. If there are uneven areas, use putty powder to level them.
3. Install the base plate
(1) Cut the base plate into the corresponding length according to the wall size.
(2) Use expansion screws to fix the base plate to the wall, with a screw spacing of about 30 cm.
(3) Fill the gap between the base plate and the wall with sealant to prevent moisture from entering.
4. Install the Wpc wall panel

(1) Cut the Wpc wall panel into the corresponding length according to the wall size.
(2) Install the wall panels from the bottom up one by one. When installing, pay attention to the gaps between the wall panels to ensure that the gaps are even.
(3) Fix the wall panels to the baseboard with screws, with the screw spacing of about 30 cm.
(4) Apply sealant between the wall panels and the baseboard to prevent moisture from entering.
5. Install the edge strips
(1) Cut the edge strips to the corresponding length according to the wall size.
(2) Install the edge strips at both ends of the wall panels and fix them with screws.
(3) Fill the gap between the edge strips and the wall panels with sealant to prevent moisture from entering.
6. Install the skirting
(1) Cut the skirting to the corresponding length according to the wall size.
(2) Install the skirting at the bottom of the wall panel and fix it with screws.
(3) Fill the gap between the skirting and the wall panel with sealant to prevent moisture from entering.
3. Precautions for wpc wall panel installation
1. Before installation, make sure the wall is flat, clean, and free of oil, dust, etc.
2. During the installation process, pay attention to the gaps between the wall panels to ensure that the gaps are uniform.
3. When installing the wpc wall panel, avoid excessive force to avoid damaging the wall panels.
4. After installing the wpc wall panel, clean up the construction site in time to ensure a clean environment.
5. During the installation process, if you encounter any problems, you can consult the manufacturer or professionals at any time.
Through the above introduction, I believe you have a detailed understanding of the installation method of the wpc wall panel. As long as you follow the steps, you can easily complete the installation of the wpc wall panel and add a touch of fashion and comfort to your home environment.