How to install wpc fluted wall panel
The installation process of outdoor wpc fluted wall panel requires certain techniques and steps. First, we need to fix the wall keel, then install the wall panel itself, and finally finish the edge.
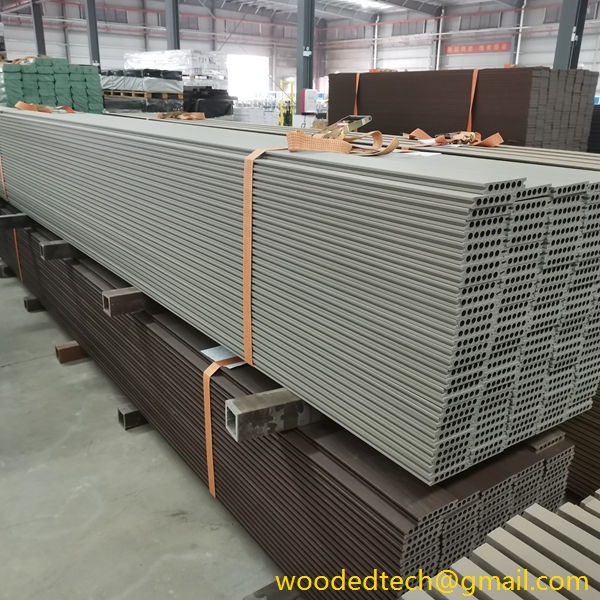
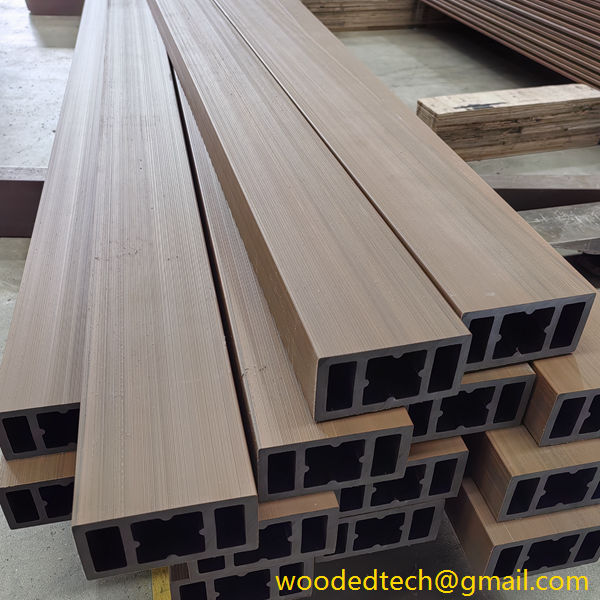
Before starting the installation, we need to prepare all the tools and materials, including electric drill, hammer, screwdriver, ruler, pencil, etc., and of course our protagonist – outdoor wpc fluted wall panel and keel.
Let’s talk about how to fix the wall keel first.
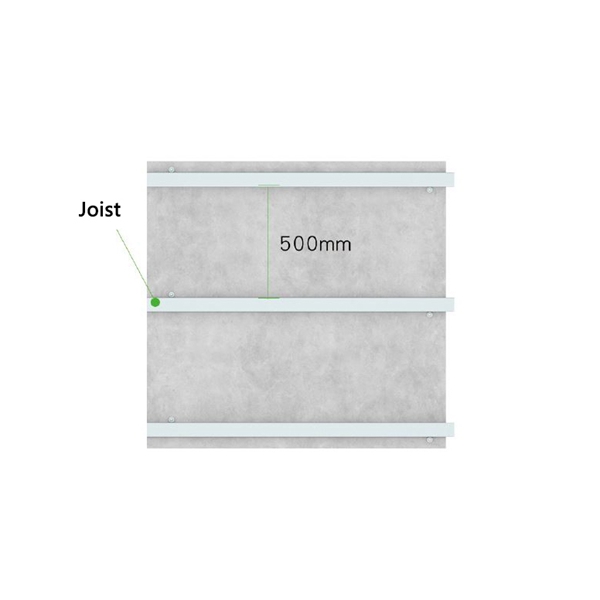
The fixation of the keel is the key to the entire installation process, because it directly affects the stability and service life of the wall panel.
We usually use expansion screws to fix the keel to the concrete or brick wall. If the wall is made of wood, we can nail it directly to the wall with nails.
It should be noted that the spacing between the keels should be uniform, generally controlled at 40-60cm.
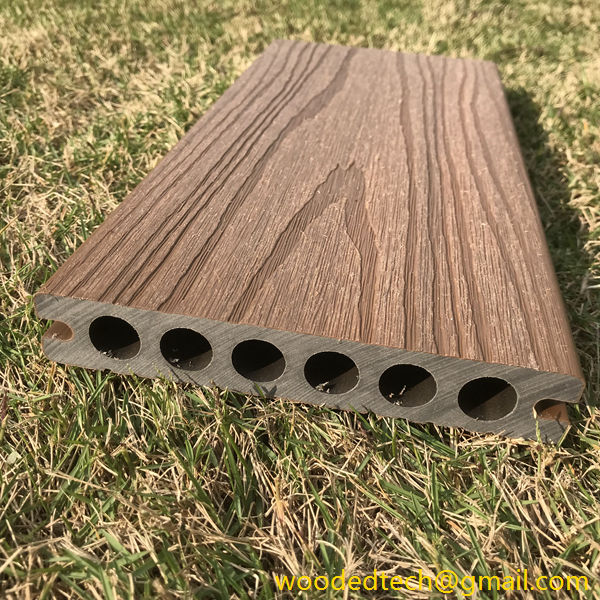
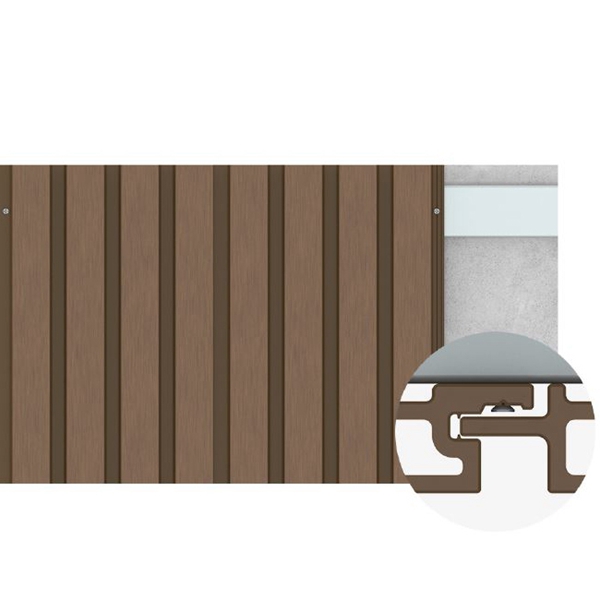
Next, we can start installing the wpc fluted wall panel.
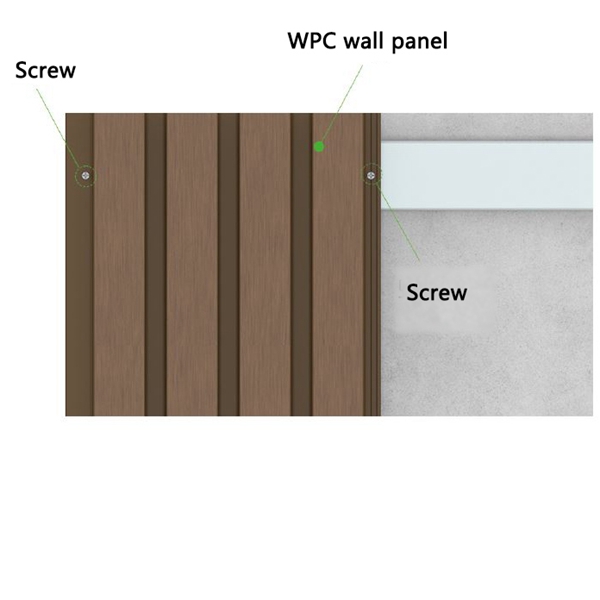
Align the wall panel with the keel, pre-drill holes in the wall panel with an electric drill, and then fix the wall panel to the keel with self-tapping screws.
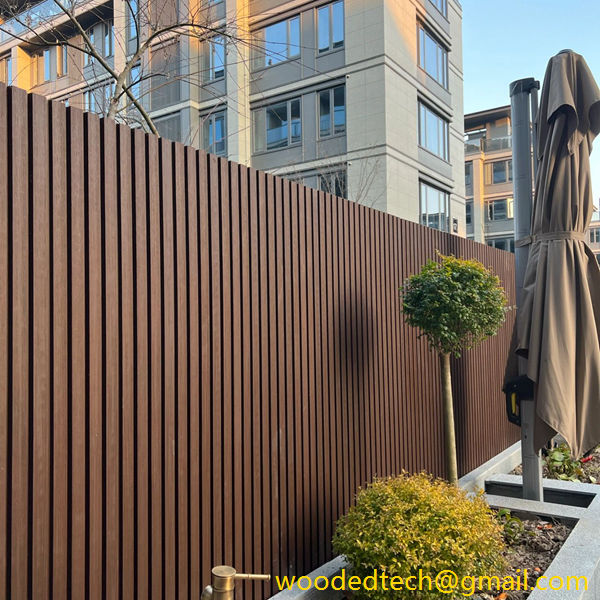
During the installation process, we need to pay attention to keeping the wall panels horizontal and vertical to ensure the overall effect.
The first step is edge treatment.

This step is mainly to improve the beauty and service life of the wall panels.
We can choose edge strips with a color similar to the wall panels for decoration, which can make the wall panels look more complete.
At the same time, edge treatment can also prevent the edges of the wall panels from being damaged and extend their service life.
The installation of outdoor wpc fluted wall panels is not complicated, but it requires certain skills and patience.
As long as we follow the steps, we can definitely complete the installation of an outdoor wpc fluted wall panel that is both beautiful and practical.