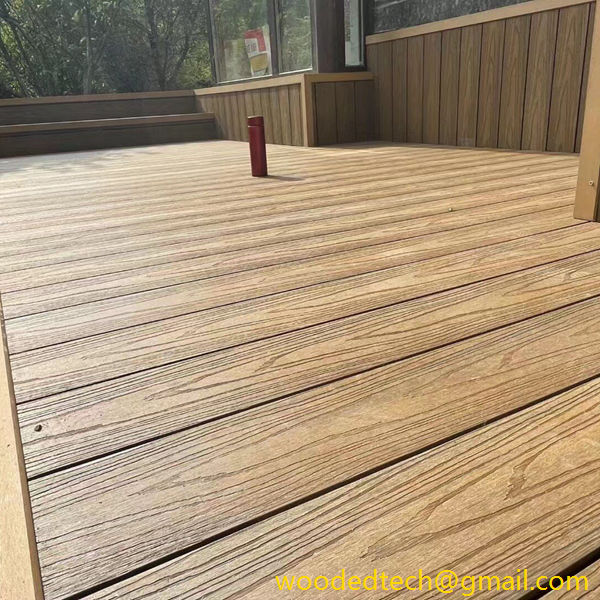
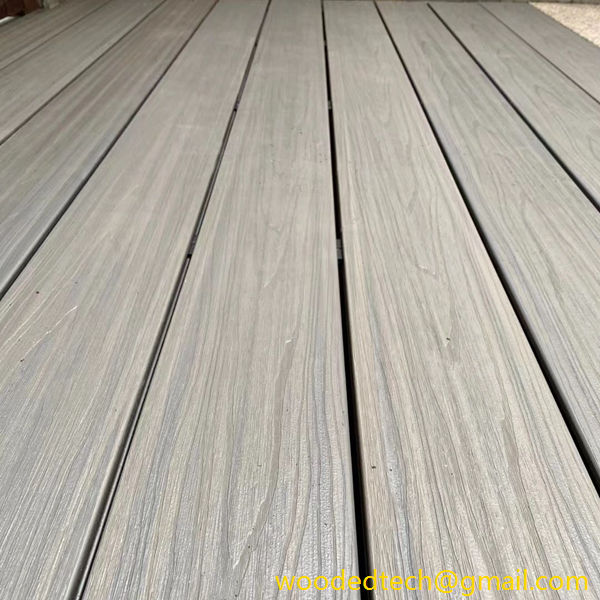
Step-by-Step Guide to WPC Deck Installation for Beginners
Wood Plastic Composite, commonly known as WPC, has gained significant popularity as a decking material due to its unique blend of wood fibers and plastic. This combination yields a product that offers both aesthetic appeal and durability, making it an ideal choice for outdoor applications. If you are a beginner looking to install WPC decking, this step-by-step guide will help you understand the materials and the installation process involved.
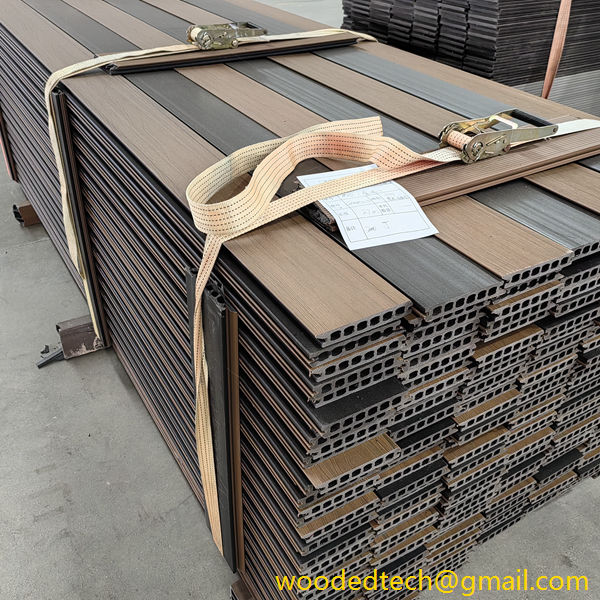
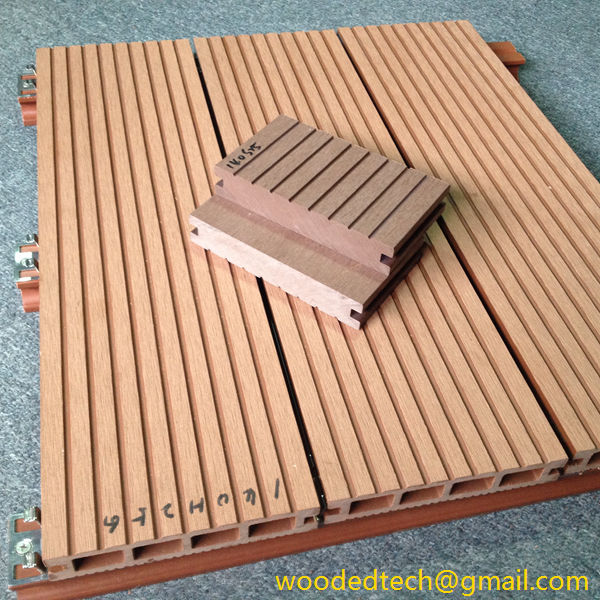
Firstly, it is important to select the right WPC decking boards. WPC is available in various grades and finishes, so consider the environment where you will be installing the deck. Look for boards that are resistant to moisture, insects, and UV rays. The performance of WPC decking is heavily influenced by the ratio of wood to plastic in the composite. A higher percentage of wood fibers typically results in a more natural appearance but may be less durable compared to boards with a higher plastic content. It is advisable to choose boards that come with warranties to ensure long-term performance.
Once you have selected your WPC decking boards, the next step is to gather the necessary tools and materials for installation. You will need a saw for cutting the boards to size, a drill for securing them in place, spacers to maintain consistent gaps between the boards, and a measuring tape for accuracy. Additionally, consider using a level to ensure that your deck surface is even, which is critical for both safety and aesthetics.
Before starting the installation, prepare the substructure where the WPC decking will be laid. The substructure can be made of treated lumber or metal framing, and it should be designed to support the weight of the decking. Proper spacing between joists is essential; typically, a distance of 16 inches on center is recommended. Ensure that the substructure is level and free from debris, as this will significantly affect the performance and longevity of the decking.
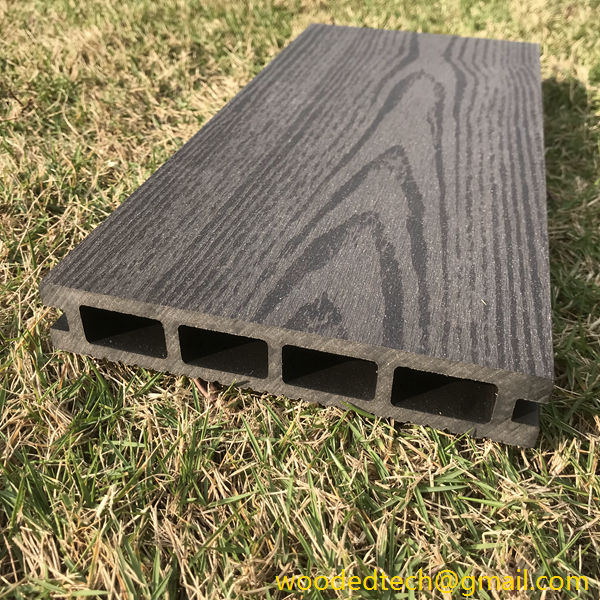
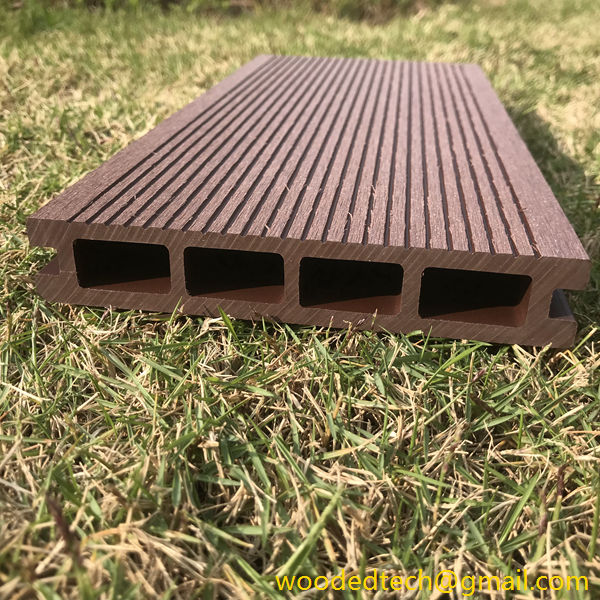
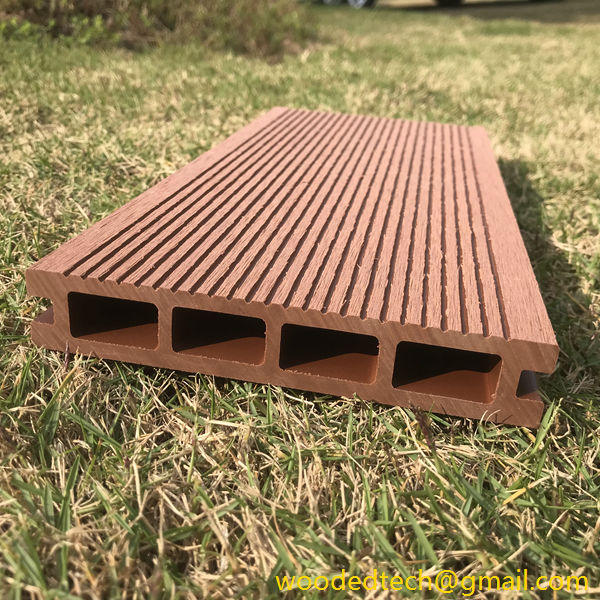
Now that you have prepared the substructure, you can begin installing the WPC decking boards. Start by laying the first board perpendicular to the joists. It is important to maintain the correct gap between the boards to allow for expansion and contraction due to temperature changes. Most manufacturers recommend a gap of about one-eighth of an inch between boards. Use spacers to help maintain this gap as you lay each board.
When securing the boards, it is recommended to use hidden fasteners or screws designed specifically for WPC decking. Hidden fasteners provide a clean look without visible screws on the surface, while screws can provide a more secure connection. If using screws, make sure to pre-drill holes to prevent the boards from splitting. The choice between screws and hidden fasteners may depend on the specific WPC product you are using, so always consult the manufacturer’s guidelines.
Continue laying the decking boards, ensuring that each board is properly spaced and secured. As you progress, periodically check that the surface remains level. If any boards are uneven, you may need to adjust their position or trim them to fit properly. Attention to detail during this phase can prevent problems later on.
Once all the boards are installed, the final step is to finish the deck. This may include trimming any overhanging edges and cleaning the surface of the deck to remove any debris or dust from the installation process. Some WPC products may benefit from a protective finish or sealant to enhance their resistance to stains and fading. Follow the manufacturer’s recommendations for maintenance to keep your deck looking its best over time.
In conclusion, installing WPC decking can be a rewarding project for beginners, provided you approach it with the right materials and understanding of the process. The performance characteristics of WPC make it an excellent choice for outdoor spaces, offering durability and low maintenance. By following this step-by-step guide, you can create a beautiful and functional outdoor area that will serve you well for years to come. Remember to always adhere to manufacturer guidelines and local building codes to ensure a successful installation.

