
wpc wall cladding installation guide
In outdoor decoration, wpc wall cladding is becoming more and more popular because of its environmental protection and durability. .
But many friends who try it for the first time may feel a little overwhelmed when facing the installation process. Don’t worry, today we will teach you how to install outdoor wpc wall cladding step by step to make your outdoor space look brand new. .
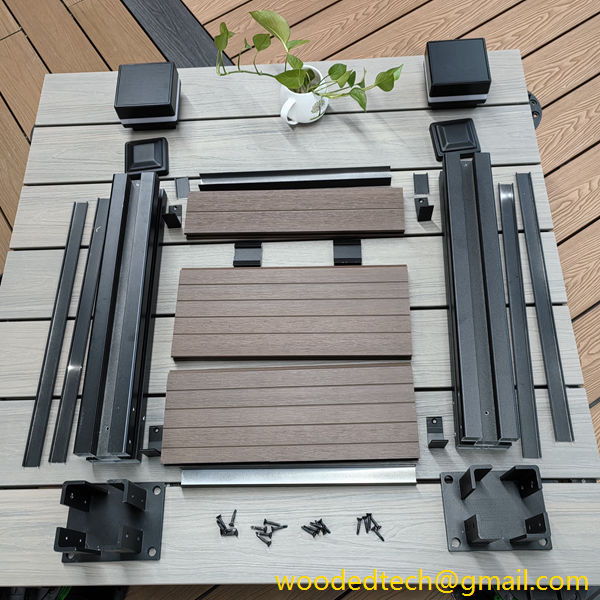
We have to prepare tools and materials. Basic tools such as electric drills, expansion tubes, and screwdrivers are indispensable.
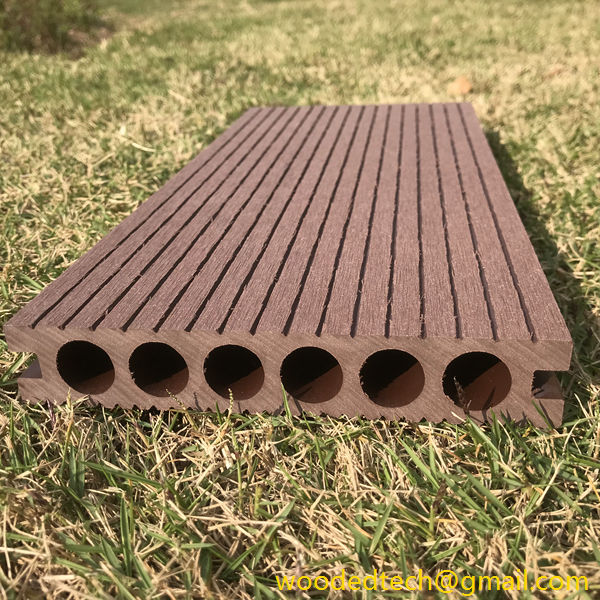
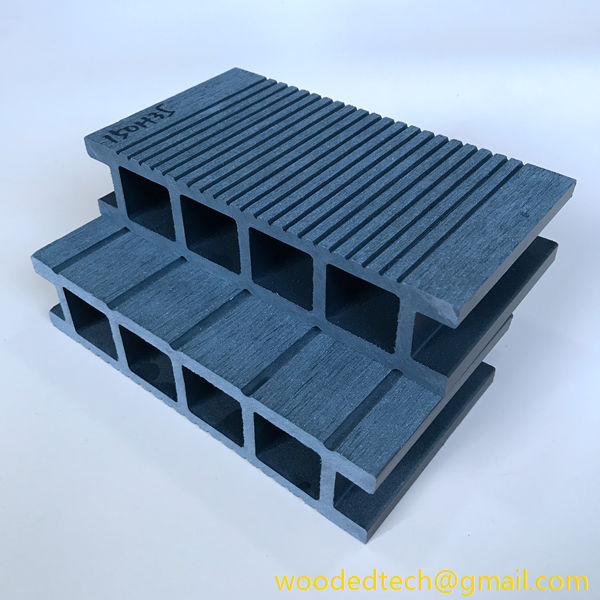
Of course, the protagonist wpc wall cladding and the matching keels must also be prepared in advance. .
After everything is ready, you can start construction.
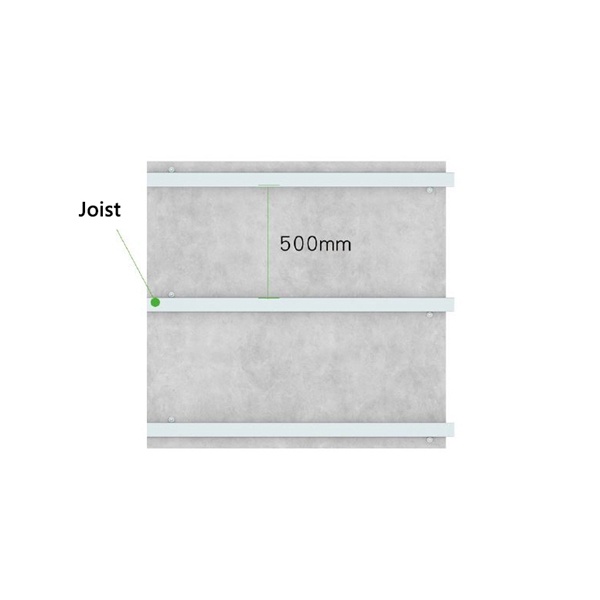
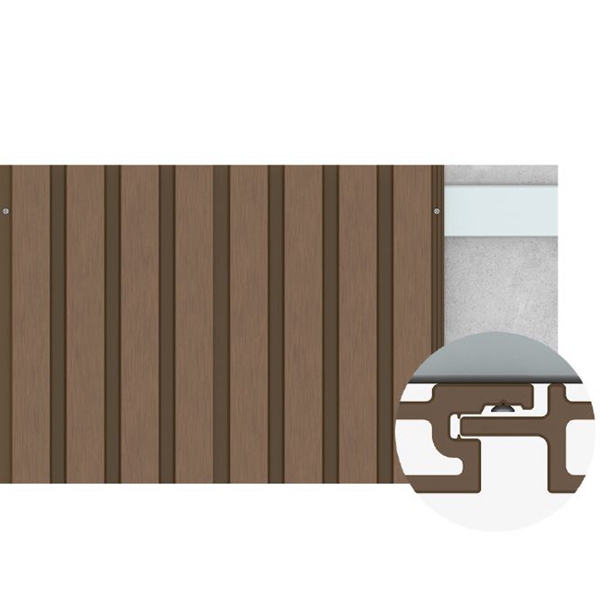
The first step is to install the keel. .
This step is critical because it is directly related to the stability of the wallboard. .
Arrange the plastic wood keels evenly, use an electric drill to make holes, and then fix them to the wall with plastic expansion tubes. .
There is a detail to pay attention to here. The interval between the keels should be kept at about 40 cm, which can ensure stability and avoid material waste. .
At the same time, remember to leave a 5mm gap at the keel joint to prevent expansion caused by temperature changes. .
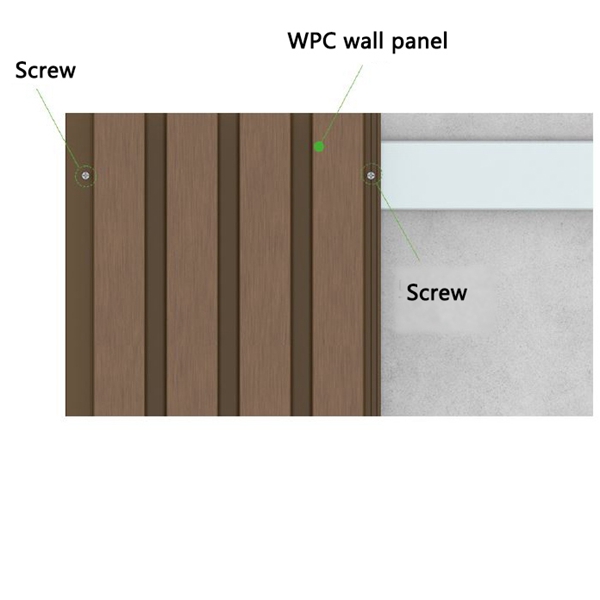
The second step is to fix the wpc wall cladding. .
You can first build stainless steel fasteners or wooden fasteners into the starting part to facilitate the fixation of the first wallboard. .
Then, use an electric drill to pre-drill small holes in the wallboard and then fix it to the keel with screws. .
Repeat this step until all wallboards are installed in place.
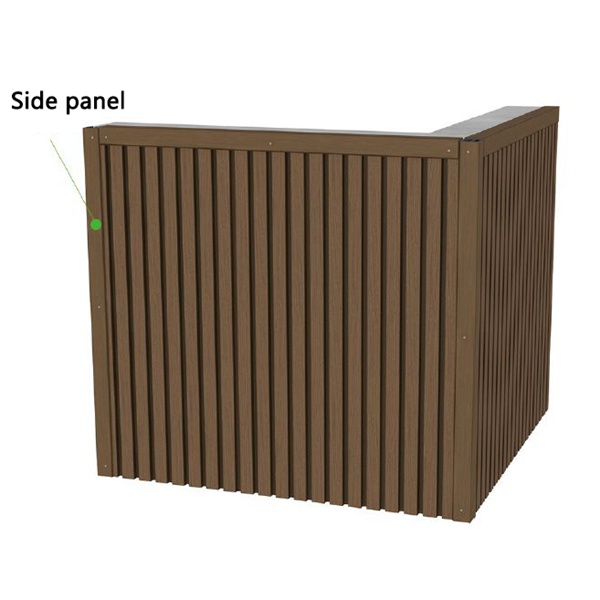
The next step is to install the edge or corner.
This step can be completed with an “L” shaped edge banding strip, which can be fixed with stainless steel screws or copper nails.
This is not only beautiful, but also increases the overall sealing and durability.
The first step is inspection and adjustment.
After installation, carefully check whether each wallboard is firm and the surface is flat. .
If there is a problem, adjust it in time.
Don’t forget to be careful and gentle during installation to avoid damaging the wallboard.
After installation, if necessary, the wall panels can be sanded and painted, which will not only make the wall more beautiful, but also provide an additional layer of protection. .
With the above steps, you can easily complete the installation of outdoor wpc wall cladding. .
Remember that it is best to have two people to cooperate during the construction, which can greatly improve efficiency and quality.
In addition, it is also very important to check whether the model and size of the wpc wall cladding meet the requirements and whether there is any damage on the surface. .
According to this method, I believe your outdoor space will soon be rejuvenated!