
How to install wpc wall cladding
Detailed tutorial: How to easily install wpc wall cladding
Introduction: With the improvement of environmental awareness and the development of decorative material technology, wpc wall cladding, as a new type of environmentally friendly decorative material, has been loved by more and more consumers. It has the advantages of beauty, durability, environmental protection, and the installation process is relatively simple. This article will introduce you in detail How to install wpc wall cladding, allowing you to easily create a fashionable home.
1. Preparation
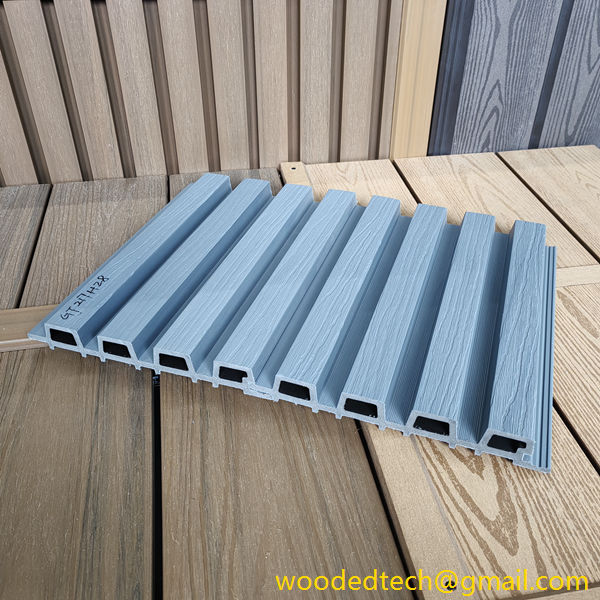
1. Material preparation: Purchase wpc wall cladding, expansion screws, sealant, wooden keel, fireproof board and other materials.
2. Tool preparation: hammer, screwdriver, electric drill, steel ruler, cutting machine, protective glasses, etc.
3. Environmental preparation: Ensure that the construction environment is well ventilated and the temperature is suitable.
2. Installation steps
1. Measurement and planning
Before installing wpc wall cladding, you must first measure the wall to understand the size and shape of the wall. According to the measurement results, the installation location and quantity of wpc wall cladding are determined. Ensure that each wpc wall cladding has an appropriate gap for easy installation and aesthetics.
2. Install wooden keels
Install wooden keels on the wall as support for wpc wall cladding. The spacing of wooden keels is generally 30-40 cm, which can be adjusted according to the actual situation of the wall. When installing wooden keels, make sure that the keels are perpendicular to the wall and fix them with expansion screws.
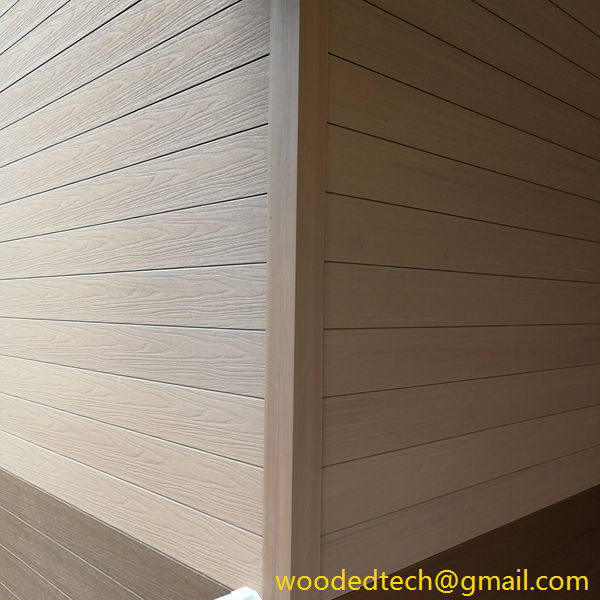
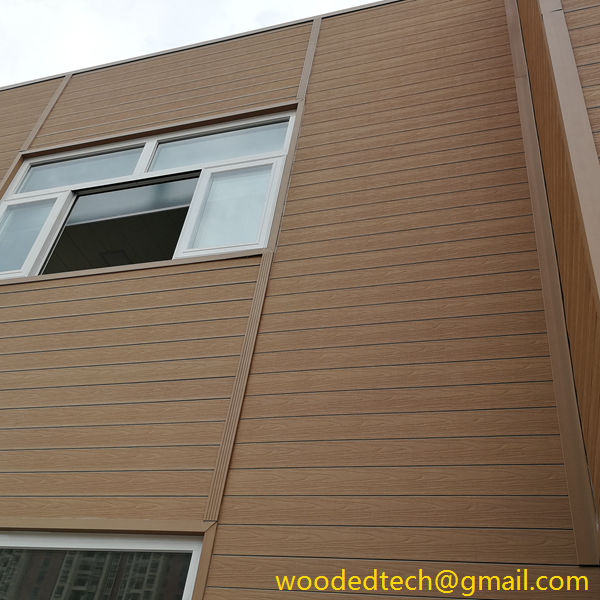
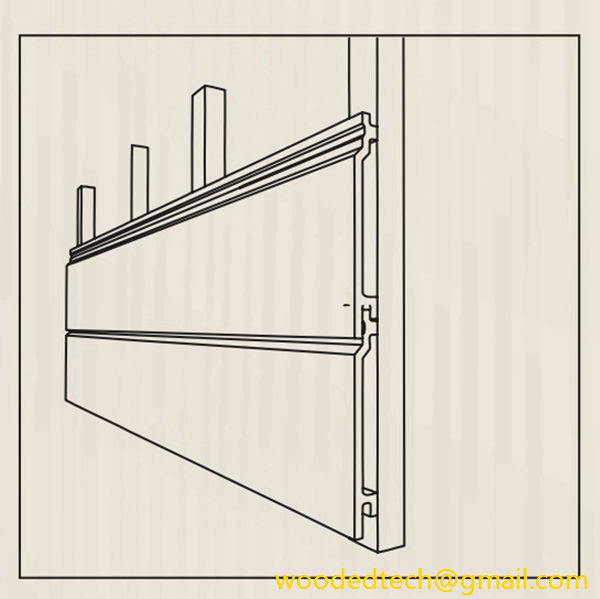
3. Install wpc wall cladding
(1) Start installation from the corner of the wall and place the first wpc wall cladding on the wooden keel, making sure that the board surface is perpendicular to the wall surface.
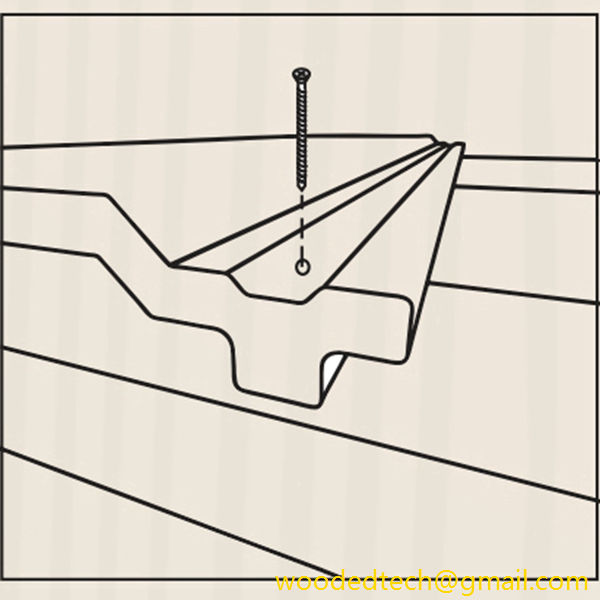
(2) Use screws to fix the wpc wall cladding on the wooden keel. Note that the spacing between the screws should not be too large to affect the appearance.

(3) When installing the second wpc wall cladding, it needs to be aligned with the first board and the gap should be uniform. During the installation process, a steel ruler can be used to measure to ensure accurate installation.
(4) Install the remaining wpc wall cladding in sequence until the entire wall is installed.
4. Finishing work
(1) Install fireproof board at the connection between wpc wall cladding and the ground and ceiling to beautify it.
(2) Fill the gap with sealant to make the entire wall smoother and more beautiful.
(3) Clean the construction site to ensure environmental hygiene.
III. Precautions
1. During the installation process, ensure that the wpc wall cladding is tightly connected to the wooden keel to avoid looseness.
2. During installation, pay attention to the verticality and horizontality of the wpc wall cladding to ensure that the entire wall is beautiful.
3. During the construction process, wear protective glasses to prevent wood chips and other debris from entering the eyes.

4. After the wpc wall cladding is installed, try to avoid long-term exposure to sunlight to avoid affecting its service life.
Summary: Through the above detailed installation tutorial, I believe you have mastered How to install wpc wall cladding. In the actual operation process, as long as you follow the steps and pay attention to details, you can easily complete the installation. The installation of wpc wall cladding can not only make your home environment look brand new, but also bring many conveniences to your life. I wish you a smooth installation and enjoy a wonderful home life!