how to put down composite decking for a secure fit
When it comes to enhancing outdoor spaces, composite decking has gained immense popularity due to its durability, low maintenance, and aesthetic appeal. Unlike traditional wood, composite materials resist splintering, fading, and warping, making them a preferred choice for homeowners and builders alike. However, to reap the benefits of composite decking, it is essential to install it correctly to ensure a secure fit. This guide will explore the necessary steps and considerations for properly laying down composite decking.
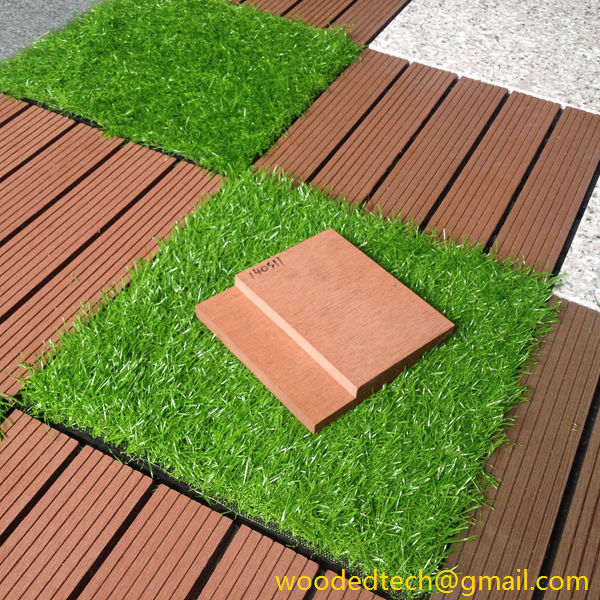
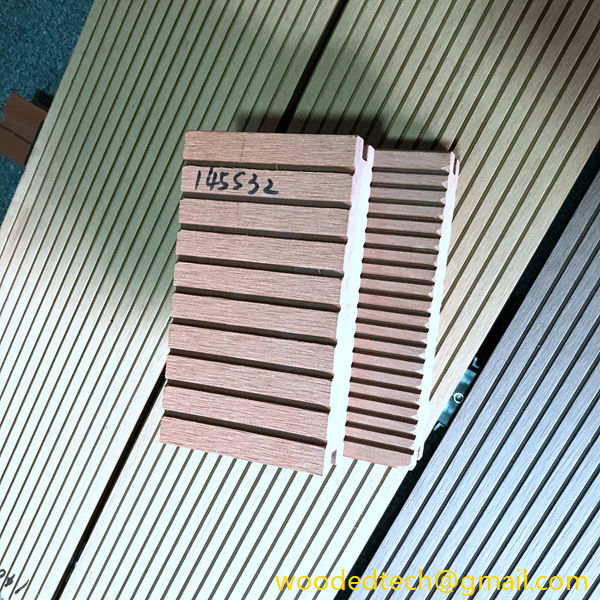
Before beginning the installation process, it is crucial to gather all the necessary materials. Essential tools include a drill, saw, measuring tape, level, and fasteners specifically designed for composite decking. Composite boards are available in various colors and textures, so selecting the right style for your project is vital. It is advisable to purchase a few extra boards to account for any mistakes or miscalculations during the cutting process.
The first step in the installation process is preparing the substructure. A robust and stable framework is essential for supporting the composite decking. Typically, this involves constructing a frame using pressure-treated wood or aluminum. The joists should be spaced evenly, generally 16 inches apart, although this can vary depending on the specific type of composite decking being used. Proper spacing helps prevent sagging and ensures a uniform surface. It is also essential to ensure that the joists are level and securely anchored to the ground or existing structure.

Once the substructure is in place, the next step is to allow the composite decking boards to acclimate to the environment. This process involves leaving the boards outside for a few days before installation. This step is crucial because it allows the boards to expand or contract according to the surrounding temperature and humidity levels. Failure to acclimate the boards can lead to gaps or warping once they are installed.
After acclimation, the installation of the composite decking boards can begin. Start by laying the first board at one end of the deck frame, ensuring it is aligned correctly with the edge of the frame. It is advisable to leave a small gap between the board and any adjacent structures, such as walls or railings. This gap allows for expansion and contraction of the boards over time. Depending on the design of the deck, you may want to use hidden fasteners or surface fasteners to secure the boards in place. Hidden fasteners provide a cleaner look, as they are not visible from the surface.
When securing the boards, it is essential to follow the manufacturer’s guidelines regarding fastener spacing. Generally, fasteners should be placed about every 16 inches along the length of the board to ensure stability. It is vital to drive the fasteners flush with the surface of the board without overdriving them, which could lead to damage. For those who prefer a more traditional look, surface fasteners can be utilized, but care must be taken to ensure they are evenly spaced for aesthetic consistency.

Once the first board is in place, continue laying subsequent boards, ensuring each one is aligned properly with the previous one. Use spacers to maintain consistent gaps between boards. These gaps are crucial for water drainage and airflow, which help prevent mold and mildew growth underneath the deck. Spacers can be made from scrap pieces of composite material or purchased from hardware stores.
In addition to proper spacing, attention should be paid to the cut ends of the composite boards. When cutting boards to fit around obstacles or to create a desired shape, it is vital to seal the cut ends with a quality composite sealing product. This step helps protect the exposed areas from moisture and prolongs the lifespan of the decking material.
As the installation progresses, it is crucial to keep checking for level and alignment. A level surface not only enhances the appearance of the deck but also ensures safety for those using it. Any deviations should be addressed immediately to avoid more significant issues down the line.
Once all the boards are installed, the finishing touches can be applied. This may include adding railings, steps, or trim pieces to enhance the overall look of the deck. Composite materials are also available for these elements, providing a cohesive appearance throughout the structure. Additionally, consider applying a protective sealant to further enhance the durability and longevity of the decking surface.
After completing the installation, it is advisable to perform a thorough inspection of the entire decking area. Check for any loose boards, uneven gaps, or misaligned fasteners. Addressing these issues promptly can prevent safety hazards and ensure that the deck remains in excellent condition for years to come.
By following these steps for installing composite decking, individuals can create a beautiful and functional outdoor space that stands the test of time. With proper preparation, attention to detail, and adherence to best practices, the result will be a deck that not only enhances property value but also provides a safe and enjoyable area for gatherings and relaxation. The investment in high-quality composite materials and proper installation techniques will pay off, offering both aesthetic appeal and peace of mind.