 English
 Español
 Français
 Português
 Deutsch
 Italiano
 Русский
 العربية
 简体中文
 香港中文
 한국어
 日本語
 Türkçe
 Nederlands
 Bahasa Indonesia
Plan the Step Layout and Check Local Requirements
Composite decking front steps need a stable frame, consistent riser heights and a clear drainage route. Begin by measuring the total rise from the finished ground level to the deck surface, then divide it into equal steps. Check local building regulations for permitted riser height, tread depth, handrail requirements and landing dimensions before setting out. Rules differ between markets, so an installer working on an export project should confirm the applicable requirements with the local authority or project team.
Mark the stair width, number of treads and position of the bottom landing. A full-width entry can suit public-facing homes and hospitality projects, while a narrower stair may be appropriate for a compact garden deck. Include the thickness of the composite boards and any nosing detail in your measurements. Small errors at this stage can produce an uneven top step or a final riser that differs from the others.
Choose Compatible Boards and Prepare Materials
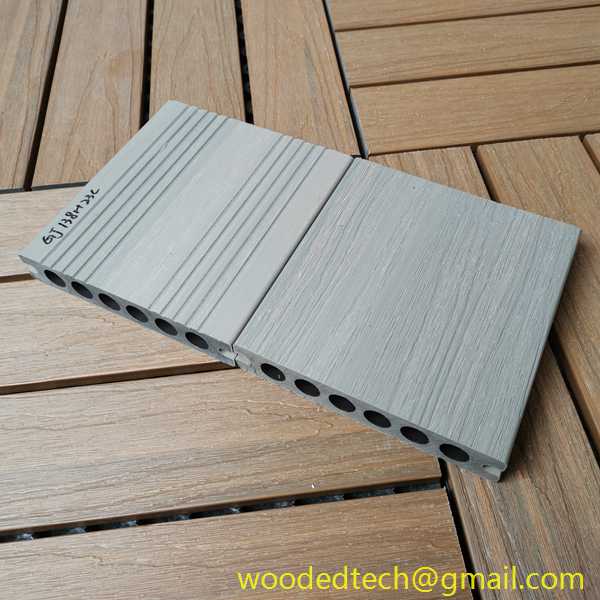
Select decking boards designed for the intended outdoor exposure and confirm that the manufacturer permits their use on stair treads. Board profiles, capped surfaces, colours and texture vary by product range. For projects with frequent foot traffic, specify a finish with suitable slip performance for the expected conditions, and check the product data rather than relying on appearance alone. Ask the supplier for installation instructions, approved fasteners, joist spacing limits and any restrictions on unsupported overhang.

Allow boards to acclimatise on site according to the manufacturer’s guidance, stored flat and protected from standing water. Gather the matching subframe materials, corrosion-resistant screws or approved hidden fasteners, saw, drill, level, tape measure and safety equipment. Composite boards expand and contract with temperature, so installation gaps must follow the product specification and current site conditions. Mixing fastening systems or combining boards from different product ranges can affect fit, appearance and warranty coverage.
Build a Rigid, Well-Drained Stair Frame
Construct the stair stringers or supporting frame from material rated for exterior use and sized for the expected load. Fix the upper connection securely to the deck structure, not merely to fascia or decorative trim. Provide adequate support beneath each tread, with joist spacing no wider than the board manufacturer allows for stair applications. A closer support arrangement may be needed where the stairs will carry heavy use or where the selected board profile has a lower span rating.
Set the frame on a stable base and check that it cannot shift, rock or trap water. Keep timber components clear of persistent ground moisture, and use suitable isolation or protective details where required by the project specification. Confirm that each tread support is level across the stair width and that risers remain consistent from top to bottom. Leave airflow around the structure and avoid enclosing the underside without a planned route for drainage and ventilation.
Fit the Treads and Finish the Edges
Cut each board to length with a blade recommended for composite materials, then test-fit it before fastening. Follow the specified spacing between boards and at fixed structures, allowing for drainage and seasonal movement. Secure boards using the approved system and keep fasteners at the required distance from board ends and edges. Do not overtighten screws, as this can damage the surface or restrict movement. If the design uses a picture-frame border or stair nosing, check that the detail is approved for the chosen product and supported along its full length.
For open risers, maintain a consistent gap that complies with local safety requirements. For closed risers, use suitable facing material and leave any ventilation or drainage openings required by the design. Cap exposed board ends with manufacturer-approved trims where available. Trim should not obstruct water flow or create a raised edge that catches footwear. Before completing the installation, inspect every tread for secure fastening, uniform projection and clean transitions to the landing and deck surface.

Inspect, Maintain and Support the Installation
Walk the completed stairs and check for movement, uneven surfaces, protruding screws, sharp cut edges and water pockets. Verify tread depth and riser consistency at several points across the width, particularly on broad steps. Remove drilling swarf and cutting dust using the cleaning method specified by the manufacturer. Record the product batch, installation date and any site adjustments, which can help the project team resolve future service or replacement queries.
Routine care is straightforward but should match the board supplier’s guidance. Clear leaves and debris from tread gaps, wash away dirt with an appropriate cleaner and inspect fasteners after the first period of use. For manufacturers and international buyers, clear installation documentation is part of product quality: it should state stair support spacing, fastening options, expansion allowances, cleaning instructions and warranty conditions. These details help installers build reliable composite decking front steps and help distributors reduce avoidable callbacks across different climates and job sites.